Making of a Suffolk Spectacular Brass
We have been producing a Horse Brass for the Suffolk Spectacular for many years now, I believe the first one was produced by my father (Terry Keegan) back in 1986.
Stage 1 THE PATTERN
We usually start the design with an idea from the Suffolk Society, some times this can be quite general ‘A Suffolk Horse Ploughing’, other years we have had photographs to reproduce or designs already drawn up for us, however this year we had a lovely pattern already made for us by Mr Bill Smith, of the Marks Hall Tree. Due to he material Bill had made the pattern from we could not directly engrave the wording onto this and had to make a copy of the pattern in a soft alloy metal called Gun/Pattern metal, we could then engrave the Wording onto this and begin casting.
Stage 2 SAND CASTING
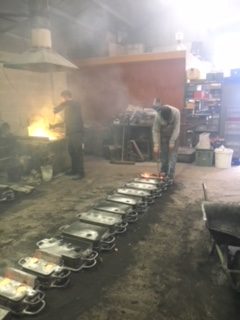
The mold maker will take the pattern and place it in a pattern box with the casting sand, the sand used for casting is a fine sand with an added bonding agent, usually clay. The pattern is pressed firmly into the sand and compacted down so that the pattern can then be lifted out leaving behind a void with the brass design imprinted in the sand. This process is repeated for each brass required. It is very important that the mold maker brushes the pattern clean of any trapped sand between each use, particularly the lettering, any trapped sand left in the pattern will reproduce a fault in the horse brass, this is most notable in the lettering.
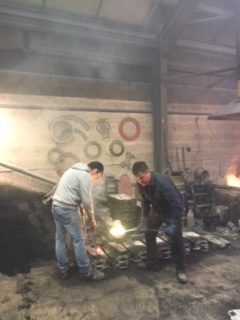
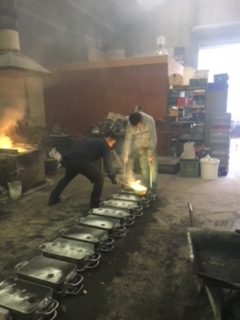
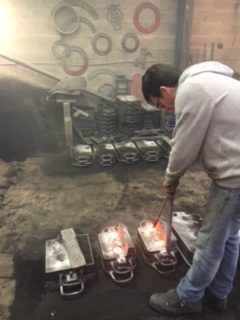
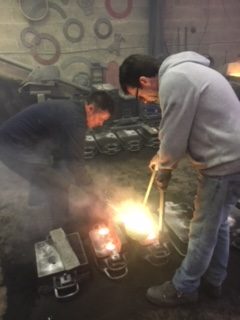
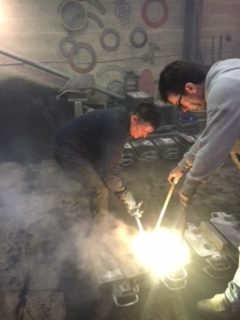
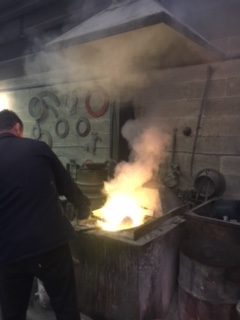
The hot brass is then poured via channels made in the sand, into the void left behind by the pattern. Pouring the hot brass is a skill by itself, you have to have the right temperature and consistency of brass but you also have to have the knowledge of how fast to pour, to fast and the hot brass can bust the pattern boxes apart or swill the lines of the pattern away, to slow and the brass cools to much before filling all of the void leaving the casting short.
Stage 3 FINISHING
The rough casting is then fettled, fettling means the removal of all the excess brass/flash, we use files to do this and a drill to clean out any holes in the design that have filled with brass. The brass is then linished with a fine sandpaper belt, we linish both the back and the front of the brass. We do the back of the brass for the people using the brasses for showing with their horses, often in the harness class you will see the judge check the back of the brasses to see how clean they are, it is easier to clean the back of a brass that has been linished. It is at this point we stamp the back of our brass with our KB logo (Keegan/Baldwin) Keegan was for my father and Ron Baldwin was my father’s business partner. The brasses are formed/dished at this point as well if required, the Suffolk brass this year did not require forming as it was shaped anyway.
Finally the brass is then polished on a fast spinning wheel using different grades of polish and wheels, starting off with a slightly coarse polish and a hard wheel and finishing with a very fine polish and a soft wheel. The finishing and polishing are exceptionally important to do correctly, to much pressure or to coarse a polish and you will remove the design, to little and you will not achieve a good finish on the brass.
Alison Garbett
Heavy Horse Enthusiast
